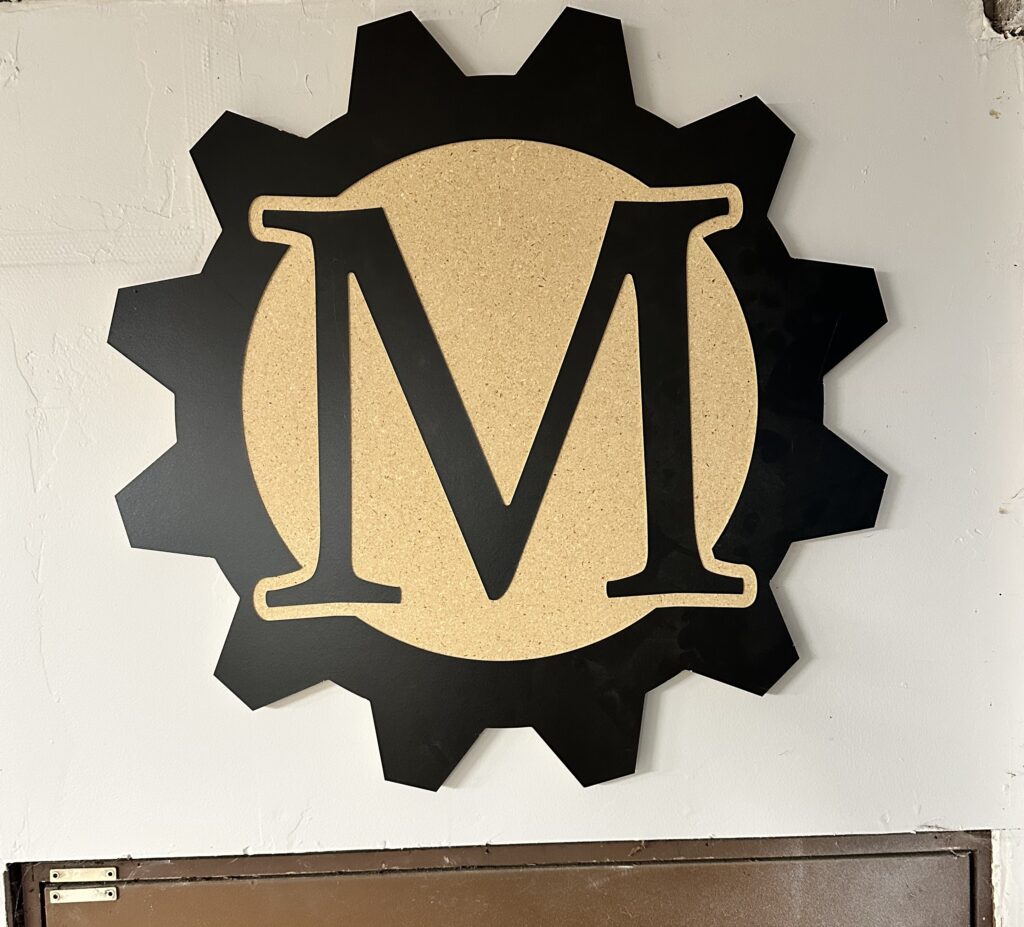
A couple years ago I decided I needed a logo. Something to put on things that I make when I want to identify that I made them. I wanted something simple and easy to read. This is what I came up with:
I liked it so well that it was one of my first projects for my CNC machine. I did this one in black melamine and I think it turned out pretty snazzy, which is why it hangs over my shop door.
I saw a couple of videos on YouTube of people creating their own signs with their 3d printers and some LED programmable lights. So, I went off an made one of those!
The plan was to design an enclosure that I could print on my 3d printer, which has a bedside of 250mm x 210mm x 220mm (XYZ). I settled on a size of 200mm or just just 8″. Then I went off to TinkerCAD to make my parts. (Sidenote: I find Autodesk Fusion 3D really hard to get in to. I’ve taken a few virtual courses and I can get through, but it’s a slog. I suspect with more practice I’d be fine, but I don’t enjoy it). Here is what I ended up with.


The only remaining part was that I needed a sheet of translucent plastic to sit behind the ‘M’. I found some on Amazon that my laser could cut cleanly and off I went to the printer! And the laser!
Once the parts were printed, mostly in black PLA with the back half of the ‘M’ in white PLA, it was time for assembly. First I used some hot glue to fix the translucent circle on the inside of the gear. Then I glued the two layers, black and white, that make up the ‘M’ and glued those to the outside of the gear. The lights were a cheap set of Alexa enabled LED lights from Amazon. I applied them to the inside of the pink gear above and made it around the inside three times before I ran out of room and cut off the unneeded lights. I also applied a layer of silver reflective tape to the inside of the back cover to encourage those pesky photons to head out the translucent layer and that was a good idea! Then it was just a matter of testing that everything worked before a few dabs of hot glue were put in place to fix the back plate to the back of the gear. And, et voilà!
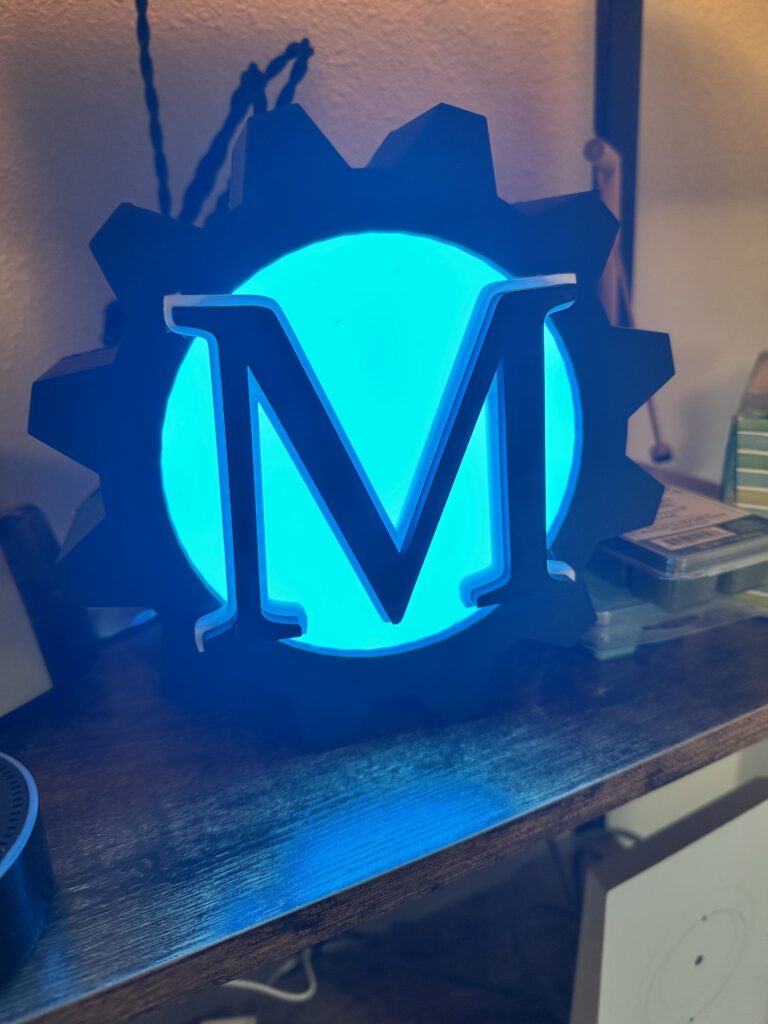
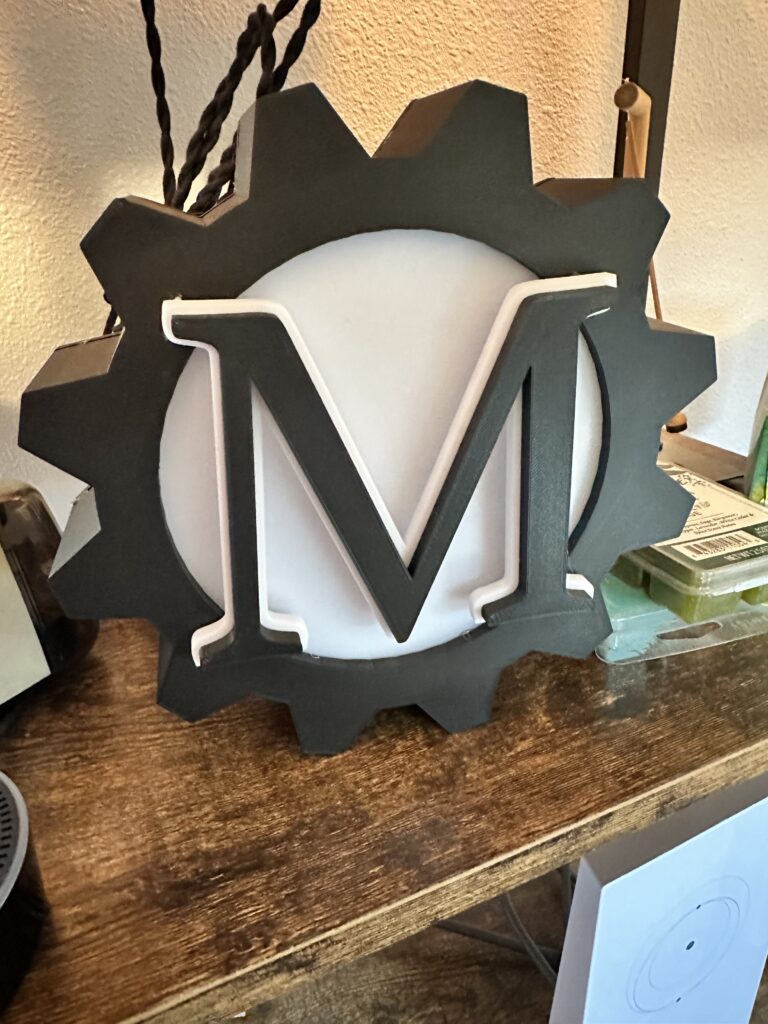
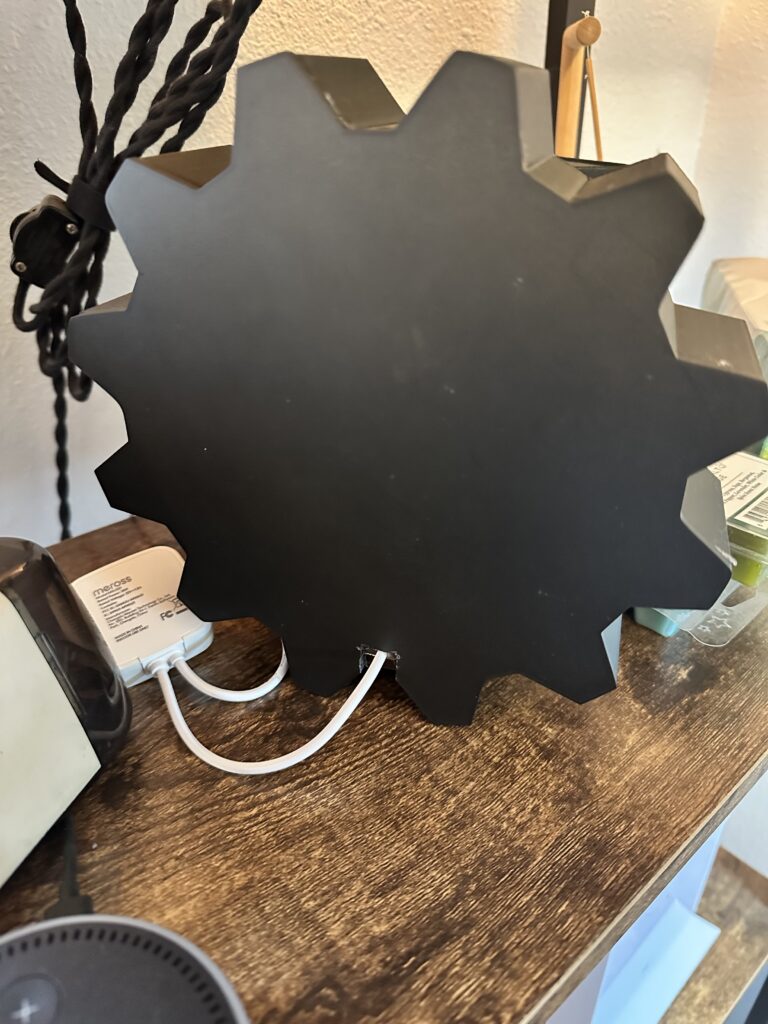
As noted, the lights are Alexa enabled, so voice controlled and running on an automated schedule. I can change the color as the mood requires. All-in-all, a fun project!




0 Comments